ここでは、macOS Catalinaでのインストール方法を紹介します。
Command Line Toolsのインストール
Pythonなどで利用するC言語環境として、Command Line Tools をインストールします。
ターミナルを起動し、次のコマンドを実行します。
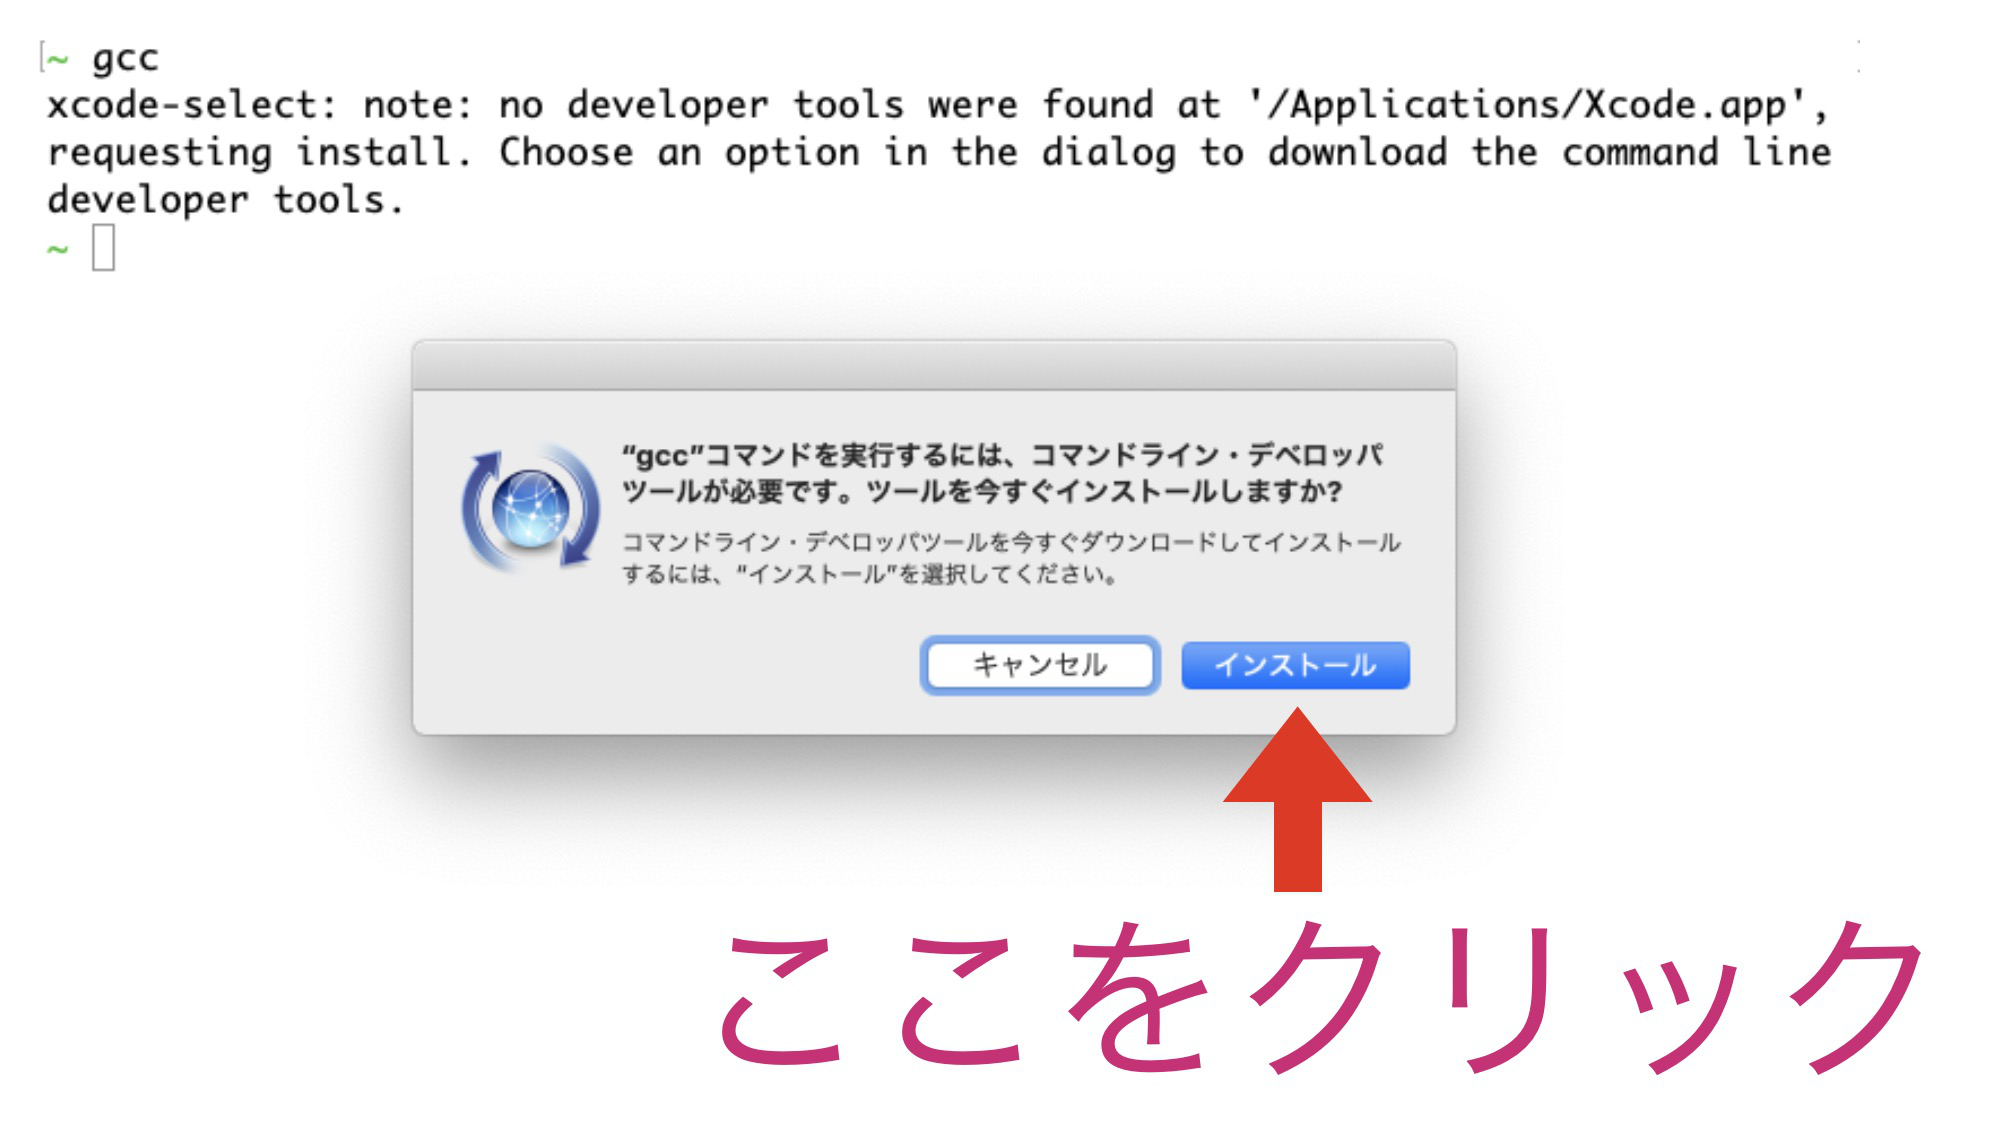
$ gcc
Command Line Tools がインストールされていない場合は、Command Line Tools のインストールが開始されます。
Homebrewのインストール
ターミナルを起動し、次のコマンドを実行します。
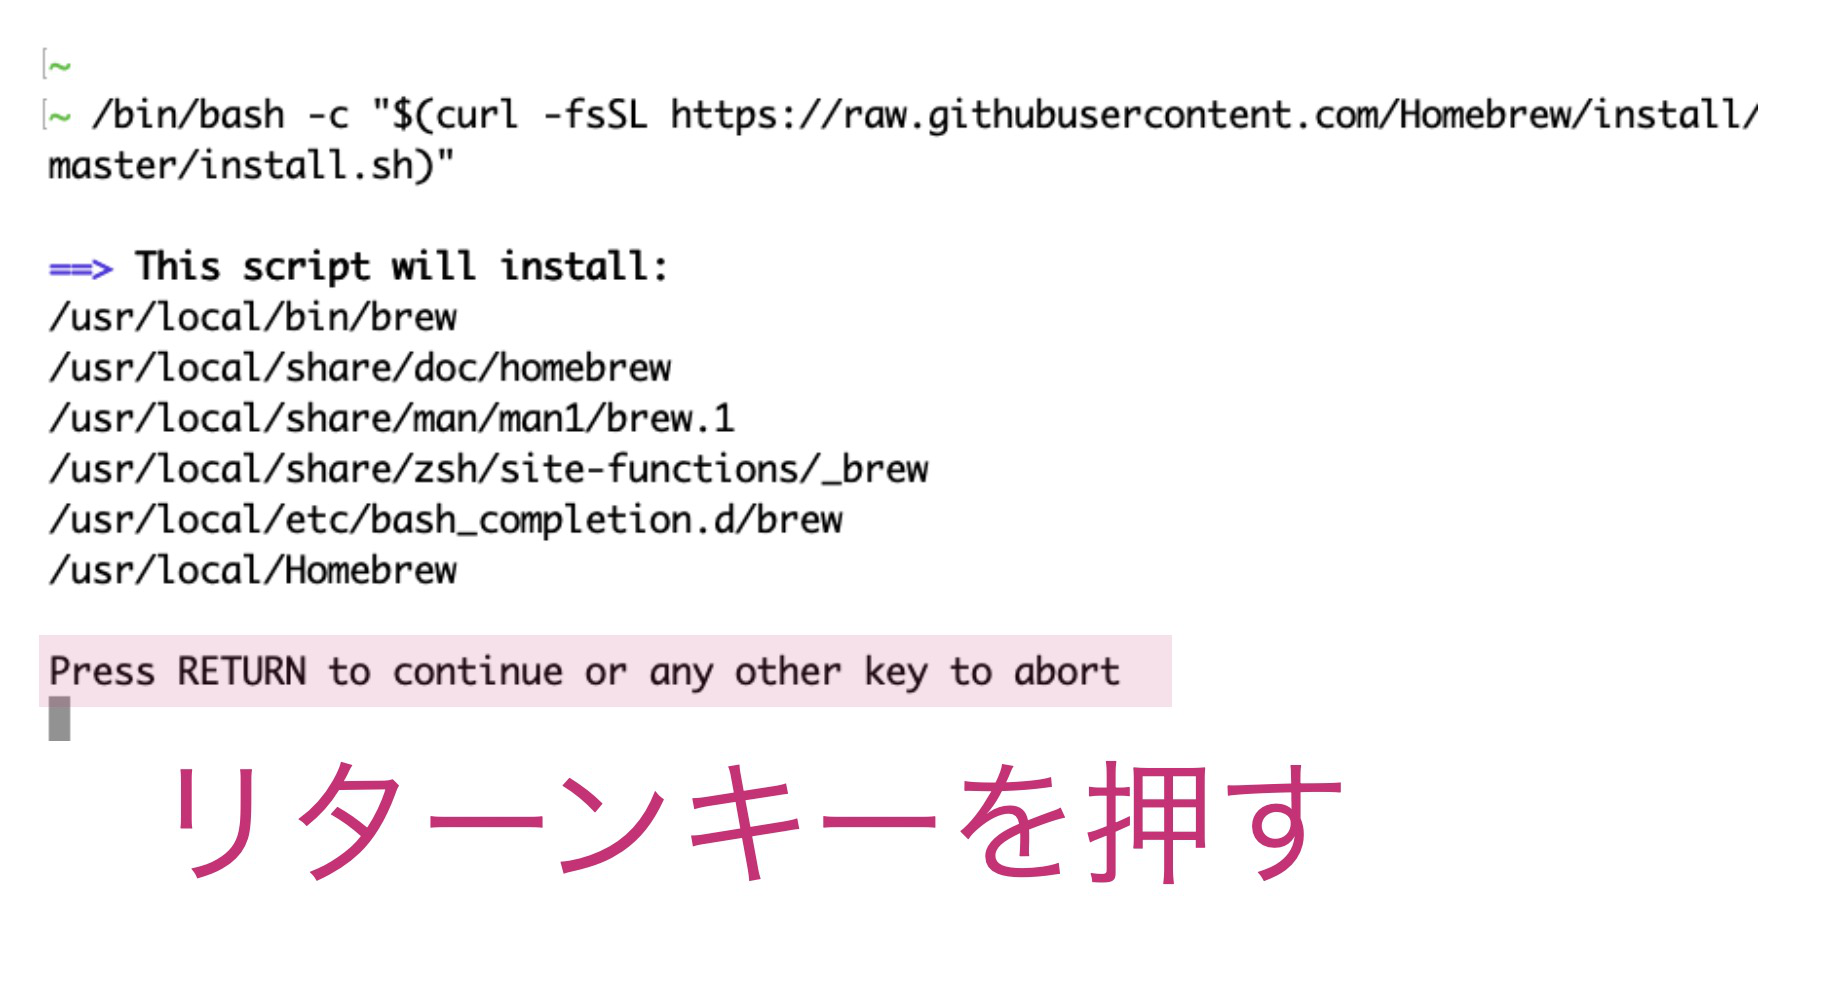
$ /bin/bash -c "$(curl -fsSL https://raw.githubusercontent.com/Homebrew/install/master/install.sh)"
コマンド実行中に、下図のように
Press RETURN to continue or any other key to abort
というメッセージが表示されたら、リターンキーを押します。
Pythonのインストール
ターミナルを起動し、brew install コマンドを実行します。
最新版をインストールする場合、python3 をインストールします。
$ brew install python3
複数バージョンのインストール
最新版Pythonのほかに、古いバージョンのPythonも同時にインストールして共存できます。
古いバージョンを指定してインストールする場合、python@3.7 のように指定します。
$ brew install python@3.7
この場合、Python3.7を実行する python3.7 コマンドは、/usr/local/bin ディレクトリに登録されないので、次のように手動で登録しておきましょう。
$ ln -s /usr/local/opt/python@3.7/bin/python3.7 /usr/local/bin/python3.7